
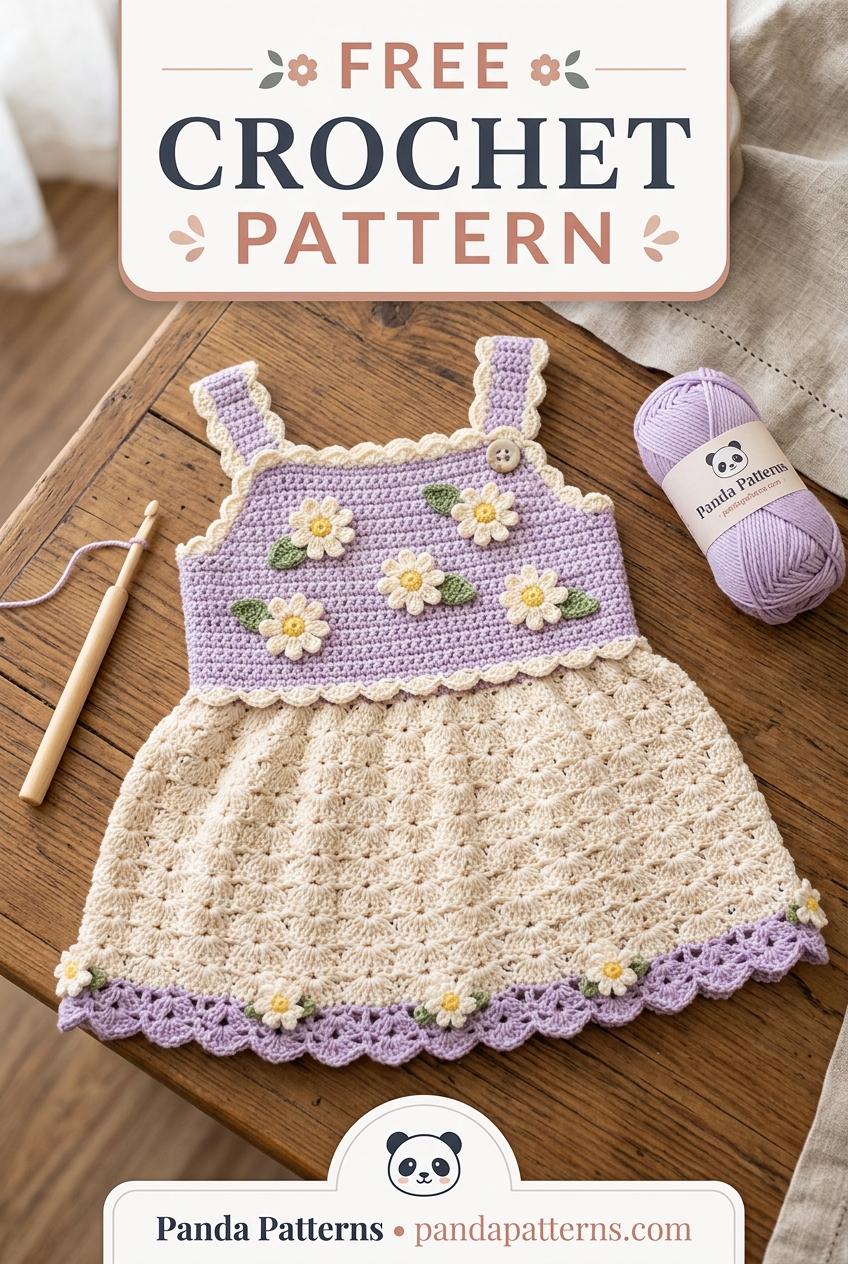
The Lavender Daisy Baby Sundress is an enchanting, vintage-inspired crochet garment designed for warm summer afternoons, newborn milestone photos, and cherished baby shower gifting. Featuring a soft lilac yoke with delicate scalloped edging and a breezy daisy-adorned cream shell skirt, this project balances classic texture with approachable construction. Follow along with our complete step-by-step free pattern below, or grab the ad-free printable PDF edition to keep in your craft binder.
Prefer an Ad-Free Printable Version?
Download the clean, ad-free printable PDF edition formatted for offline reading, craft binders, and home printing.
About This Pattern
Inspired by sun-drenched wildflower meadows, this sundress combines an opaque, structured yoke bodice with an airy lace skirt that drapes effortlessly. The top-down construction minimizes tedious sewing, while the adjustable buttoned shoulder straps allow for easy dressing over delicate baby heads. The whimsical 3D daisy appliqués are crocheted separately and stitched securely across the waistline, giving you endless freedom to personalize color palettes or stash-bust pastel scraps.
🧶 Quick Pattern Details
Easy / Advanced BeginnerMaterials & Tools
- Yarn: DK Weight (#3 Light) Cotton Blend Yarn (~220 yds Lilac for bodice, ~310 yds Soft Cream for skirt, ~30 yds Daisy Yellow & Olive Green for floral motifs).
- Crochet Hooks: 3.75 mm (US F-5) for bodice structure & 4.0 mm (US G-6) for skirt drape.
- Notions: Tapestry yarn needle, 4 locking stitch markers, measuring tape, sharp craft scissors, and two 15 mm natural wooden buttons.
Recommended Yarn & Substitutions
Soft cotton-bamboo, 100% combed cotton, or gentle cotton-acrylic blends provide optimal breathability, stitch definition, and softness against sensitive infant skin. For cooler autumn climates, light worsted merino wool or anti-pilling acrylic can also be substituted without losing the lovely drape.
Gauge & Swatch Instructions
Gauge: 18 single crochet stitches and 14 rows = 4 inches (10 cm) worked with a 3.75 mm hook. Taking a brief 10 minutes to verify your gauge ensures the yoke fits comfortably without pinching under tiny armholes.
Stitch Guide & US Abbreviations
- ch: chain
- sc: single crochet
- dc: double crochet
- hdc: half double crochet
- sl st: slip stitch
- st(s): stitch(es)
- sk: skip
- BLO: back loop only
- Shell: (2 dc, ch 1, 2 dc) worked into the specified stitch or space
Special Stitch Tutorial: The Daisy Shell
To create the airy daisy shell pattern: Yarn over, insert hook into designated chain-1 space, yarn over and pull up a loop, (yarn over and pull through 2 loops) twice [first dc made]. Work 1 more dc in same space, ch 1, and work 2 more dc in same space. This forms an open fan that builds the flared silhouette of the skirt.
Pattern Notes Before You Begin
- This pattern is written in standard US crochet terminology.
- The bodice is worked flat in rows to allow clean strap placement, then joined into continuous rounds for the skirt.
- Beginning chains do not count as a stitch unless specifically designated.
- For baby items, weave in all yarn ends through multiple alternating directions to withstand gentle washing cycles.
Step-by-Step Pattern Instructions
Part 1: Front & Back Bodice Panels (Make 2 Alike)
Using lilac yarn and 3.75 mm hook, loosely ch 43.
Row 1: Sc in 2nd ch from hook and in each ch across. Turn. (42 sc)
Rows 2–16: Ch 1, sc in each st across. Turn. (42 sc)
Row 17 (Armhole Indentation): Sl st in first 4 sts, ch 1, sc in next 34 sts, leave last 4 sts unworked. Turn. (34 sc)
Rows 18–22: Ch 1, sc in each of the 34 sts across. Turn. Fasten off leaving a 14-inch tail on one panel for sewing.
Part 2: Joining Bodice & Working the Shell Skirt
Place front and back panels together with right sides facing. Using yarn needle and lilac tail, whip stitch or mattress stitch the side seams from the bottom edge up to the armhole indents. Turn right side out.
Round 1 (Skirt Foundation): Join soft cream yarn at side seam. Ch 1, work 68 sc evenly distributed around the bottom perimeter of the joined bodice. Sl st to first sc to join. (68 sc)
Round 2 (Shell Setup): Ch 3 (counts as dc), dc in same st, ch 1, 2 dc in same st (initial shell made). *Sk 3 sts, work (2 dc, ch 1, 2 dc) in next st*, repeat from * around. Sk last 3 sts, sl st to top of starting ch-3. (17 shells)
Rounds 3–14: Sl st into the first ch-1 space. Ch 3, (dc, ch 1, 2 dc) in same space. *Work shell in next ch-1 space*, repeat around. Sl st to top of starting ch-3. (17 shells each round)
Round 15 (Scalloped Lilac Border): Join lilac yarn in any ch-1 space. *Work 6 dc in next ch-1 space, sc in space between shells*, repeat from * around to create graceful scalloped petal fans. Fasten off and weave in ends.
Part 3: Shoulder Straps (Make 2)
With right side facing, join lilac yarn at the top outer corner of back bodice across 6 stitches.
Rows 1–24: Ch 1, sc across the 6 sts. Turn. (6 sc)
Row 25 (Buttonhole): Ch 1, sc in first 2 sts, ch 2, sk 2 sts, sc in last 2 sts. Turn.
Row 26: Ch 1, sc in first 2 sts, 2 sc in ch-2 space, sc in last 2 sts. Fasten off. Repeat on opposite shoulder.
Part 4: 3D Daisy Flower Appliqués (Make 5)
Center (Yellow): Make a magic ring (or ch 4, sl st to form ring). Ch 1, work 10 sc into ring. Sl st to first sc to join. Fasten off yellow. (10 sc)
Petals (Cream): Join cream yarn in any sc. *(Ch 3, 2 dc, ch 3, sl st) all in same st, sl st into next st*, repeat around to produce 10 rounded daisy petals. Fasten off leaving a 12-inch tail for attachment.
Assembly & Finishing
- Buttons: Sew 15 mm wooden craft buttons securely to the interior top corners of the front bodice corresponding to your strap buttonholes.
- Attaching Daisies: Arrange the 5 finished daisies symmetrically across the waistline seam. Using the cream yarn tails and tapestry needle, stitch through the back of the flower centers into the bodice fabric so no stitches show through on the interior.
- Weaving Ends: Weave in all loose yarn ends through multiple stitch passes.
- Wet Blocking: Submerge garment in lukewarm water with mild gentle wash. Gently press between dry towels to remove moisture and pin to shape on a blocking board until dry.
Care Guidelines for Handmade Baby Clothes
Hand wash in cool water with mild, fragrance-free baby detergent. Gently squeeze without wringing to protect delicate shell stitches. Reshape flat on a towel away from direct heat. Store neatly folded rather than on wire hangers to preserve shoulder strap elasticity.
Troubleshooting & Sizing Customization
Check your gauge swatch. If you crochet tightly, bump up half a hook size (to 4.0 mm) on the bodice to restore relaxed stretch and drape.
Add 4 initial chains to your foundation chain (47 ch), work 4 additional bodice rows before armhole shaping, and add 3 more rounds to the shell skirt.
Yes! Simply stop the skirt at Round 8 and work the lilac scallop border directly for a darling baby tunic to pair with bloomers or leggings.
When stitching baby garments, always knot your appliqué yarn tails securely on the inside before weaving them back and forth three times. Using smooth natural wooden buttons gives the dress that warm, timeless boutique aesthetic that parents treasure for milestone memories!
Save This Pattern to Your Pinterest Boards
Pin this baby sundress pattern so you have the materials list, stitch guide, and step-by-step instructions saved for your next project.

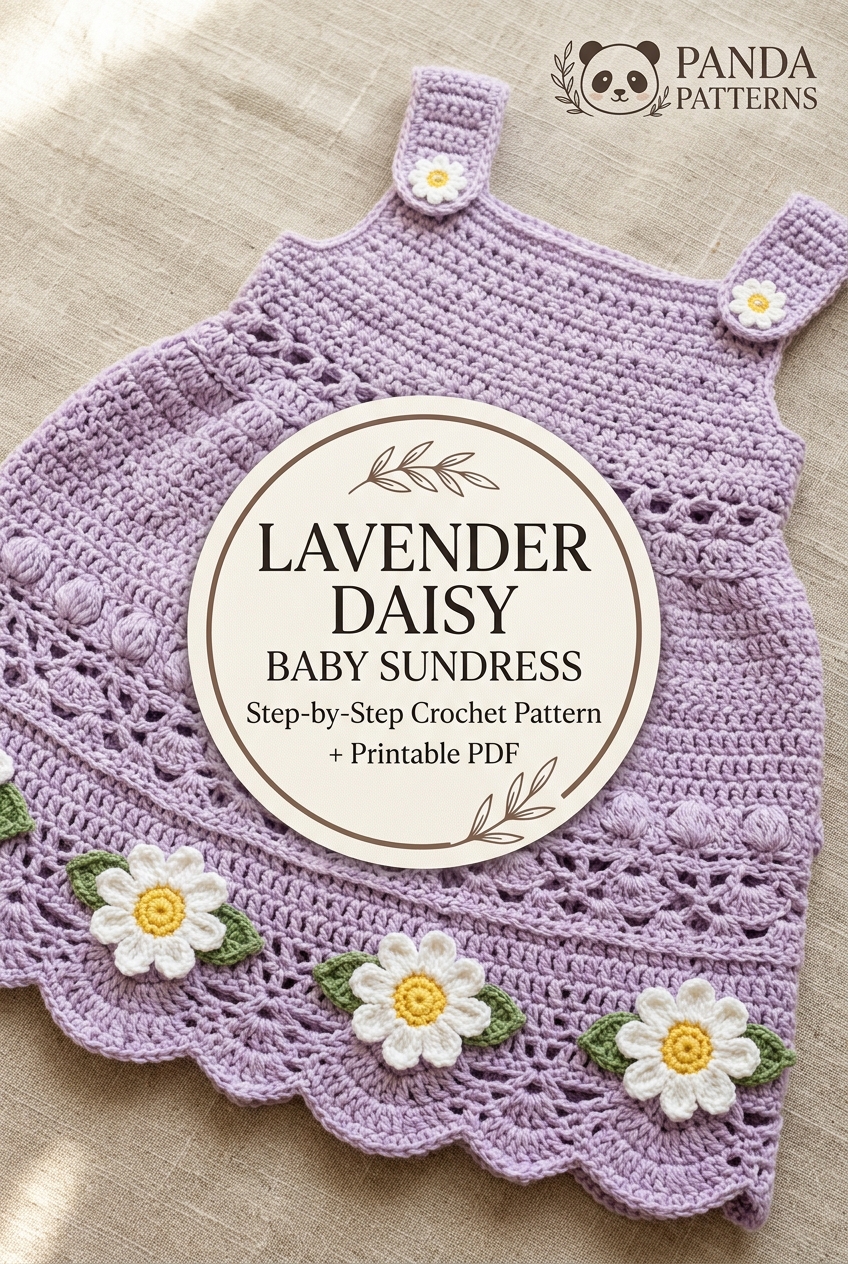
Original 1000 × 1500 px (2:3) Panda Patterns pin creatives crafted with custom branding and typography.
Download the Ad-Free Printable PDF Pattern
Prefer a clean, portable pattern you can print at home or keep in your craft binder without ads or page reloading?
- ✔ 100% ad-free & printer-friendly formatting
- ✔ Immediate PDF download link after checkout
- ✔ Universal format for iPad, Android, Mac & PC
- ✔ Free lifetime access & replacement links